AGRICULTURE
There are two ways a user can create a project. They are as follows:
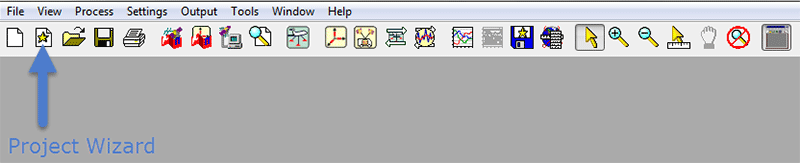
1. Project Wizard
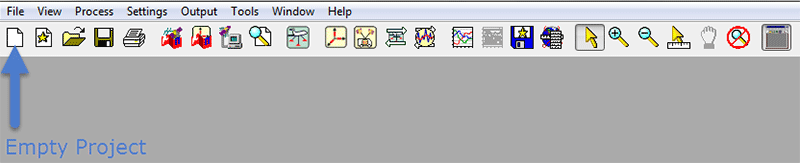
2. Empty Project
The Project Wizard offers a guided step-by-step way of creating a project. The steps taken in using the Project Wizard are:
i. Create and name the project
ii. Add raw or GPB format rover data to the project
iii. Add raw or GPB format base station data to the project
Note: base station data can be downloaded from nearby public service stations, or can be skipped if intending to process PPP
The Empty Project method is typically the quickest and most preferred method of project creation for experienced users. This method requires users to first convert their raw data to GPB format, and then manually create the project file and add master/remote files.
i. Convert raw data to GPB format using the converter utility (see Converting Raw Data for more details)
ii. Browse to a desired directory and create the project file. If processing PPP, skip ahead to step 5
iii. Select File | Add Master File(s) to load master files. Select the GPB files collected at the base station(s) and click Open
iv. Enter the base station coordinates, datum and antenna information when prompted (see Adding a Base Station for more details)
v. Select File | Add Remote File. Select the remote GPB file
vi. Enter the antenna information for the remote when prompted
a. If there is inertial data, the user will be prompted to add these to the project at this time (ie. IMR file, DMI file, HMR file)